I teach TAB in my Elementary Art Room. Our elementary school houses grades 3-6, which I see each class (one of each) one time a week for 54 minutes. Since I'm in this room for such a short amount of time each day it tends to get overlooked. Well not this year! I decided to go with the theme "Color Wheel", since I already had my "I SPY" wall and the blocks along one wall all painted nice & bright.
Let's just go by center, then I'll post the whole room.

Drawing Center

My drawing center is red this year (obviously!) I don't have bulletin boards in this room, so I made my own by hot gluing paper to the wall & using bright border. I don't have my procedures & examples up yet, but they're coming! All my supplies for this center are marked with red electrical tape, even the scissors, pencils, glue bottles and Sharpies. This helps keep students from "borrowing" for other centers and not returning them. I'm super excited about the new plastic see-through crayon boxes for the fancy crayons and the new stencils of gears and people. My little engineers and fashion designers are going to flip!
Collage Center
Green for collage. Lots of cool scissors, papers, magazines, & sequins - everything a collage artist might want!

Puppets, Jewelry, & Masks

This is a new center this year. Actually, I'm separating it from collage due to it's popularity, AND to help promote puppetry (hopefully!) I got some cool new shadow puppet books as a door prize at a workshop. They came from
ShadowPuppetStories on Etsy (shout out for these cool puppets!) This one isn't as color coded, & the table is in the middle of the room, but all the supplies they'll need are on the bookshelves on the wall that is partially shared with collage.

Finishing Center
There's not much to talk about with the finishing center. This is where the students bring their sculptures to paint after they've done the shake test to make sure they are well constructed. I put this on the opposite side of the room from the sculpture center to keep the students from going back & forth between constructing and painting. Glue doesn't hold well when applied to wet paint. For some reason my students just don't believe me on this! This one is under my color wheel curtains and beside my old art cart. I just can't bring myself to get rid of that old thing - it's so handy & I have a lot of memories tied up in that box on wheels!
Sewing Center
The sewing center is always one of my most popular. Felt and fabric scraps allow students to hand sew small stuffed animals and dolls, and to decorate them in a new cool way. For stuffing we use felt scraps as well as stuffing I purchase and old stuffed animals that we re-purpose the insides.

Weaving Center

The weaving center is another popular center. Weaving on paper plates, handmade looms made out of cardboard, bracelets, wall hangings, you name it they weave it! I have a lot of unbeweavable weavers! They love to take extra yarn and their loom with them and weave at recess, while the teacher is reading to the class, and anytime they can get away with it! I ask parents for donations of any yarn they can spare so I always have more than enough!
Painting Center
Ok, so I don't have sinks. That dirty dark blue bucket is where my students dump their dirty water, refilling it with clean water from the lt.gray buckets. I have watercolors, temera cakes, and washable crayons/markers/colored pencils for drawing & adding water. I keep the drying rack ready for my little artists! I am opening a liquid tempera center, but it's on the easel at the opposite side of the room. I'm going to introduce it and allow 2 students to work there at a time until I see what problems it presents before moving it over to this center. Monitoring a couple students at a time makes new materials easier to manage!
Sculpture Center
So why black you might ask? Well, that's how I feel about it somedays! Just kidding! I didn't want to reuse any colors to keep it simple and I'd used all the other paper colors we had! Sometimes the real answer just isn't all that interesting! Plus I wanted to darken the light coming in just a bit since I project on the opposite wall & it's hard to see with full light. I have 2 hot glue guns and a massive amount of cardboard at this center. The shelving on the far right students are allowed one each. Cut cardboard scraps they can have as much as they need. All other supplies they are allowed 3. If their idea calls for more than 3 they must talk to me first about their idea and get permission. This is not to keep students from creating whatever they want, but to ensure that one student doesn't hot glue a log cabin together with Popsicle sticks, using my entire supply, only to completely abandon it. This left a LOT of hurt feelings amongst the entire studet body as they wanted those precious little wooden sticks and felt that the girl had been wasteful and selfish. It was just a situation I would rather not repeat. So 3 is the magic number! :) It's nice to have a place to recycle all those egg cartons as well - I have my own cake business and I go through a lot of eggs (and cake mixes - hey, I'm not a baker but I can make a super cool looking cake!)

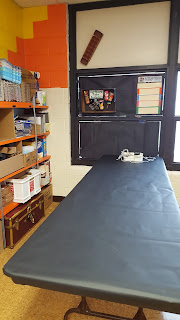
Sewing Machines

So this is a brand new center. PTO bought me a sewing machine, and I bought two more at a yard sale. I have some future fashion designers and they are going to flip over this new section! I need to find a tall doll for them to create fashion for - unless someone has a great idea for a model? I don't have enough fabric for them to create for themselves, and at this point we just aren't there yet.


Games/Critical Thinking
Not much to this one. Just odds & ends puzzles and creative games I've accumulated throughout the years. I allow students 2 days at this center maximum. It's for those days when you just aren't really feeling the creative process. 3 students maximum allowed!
Overall View

 The first thing you want to do is to clean out your mold.
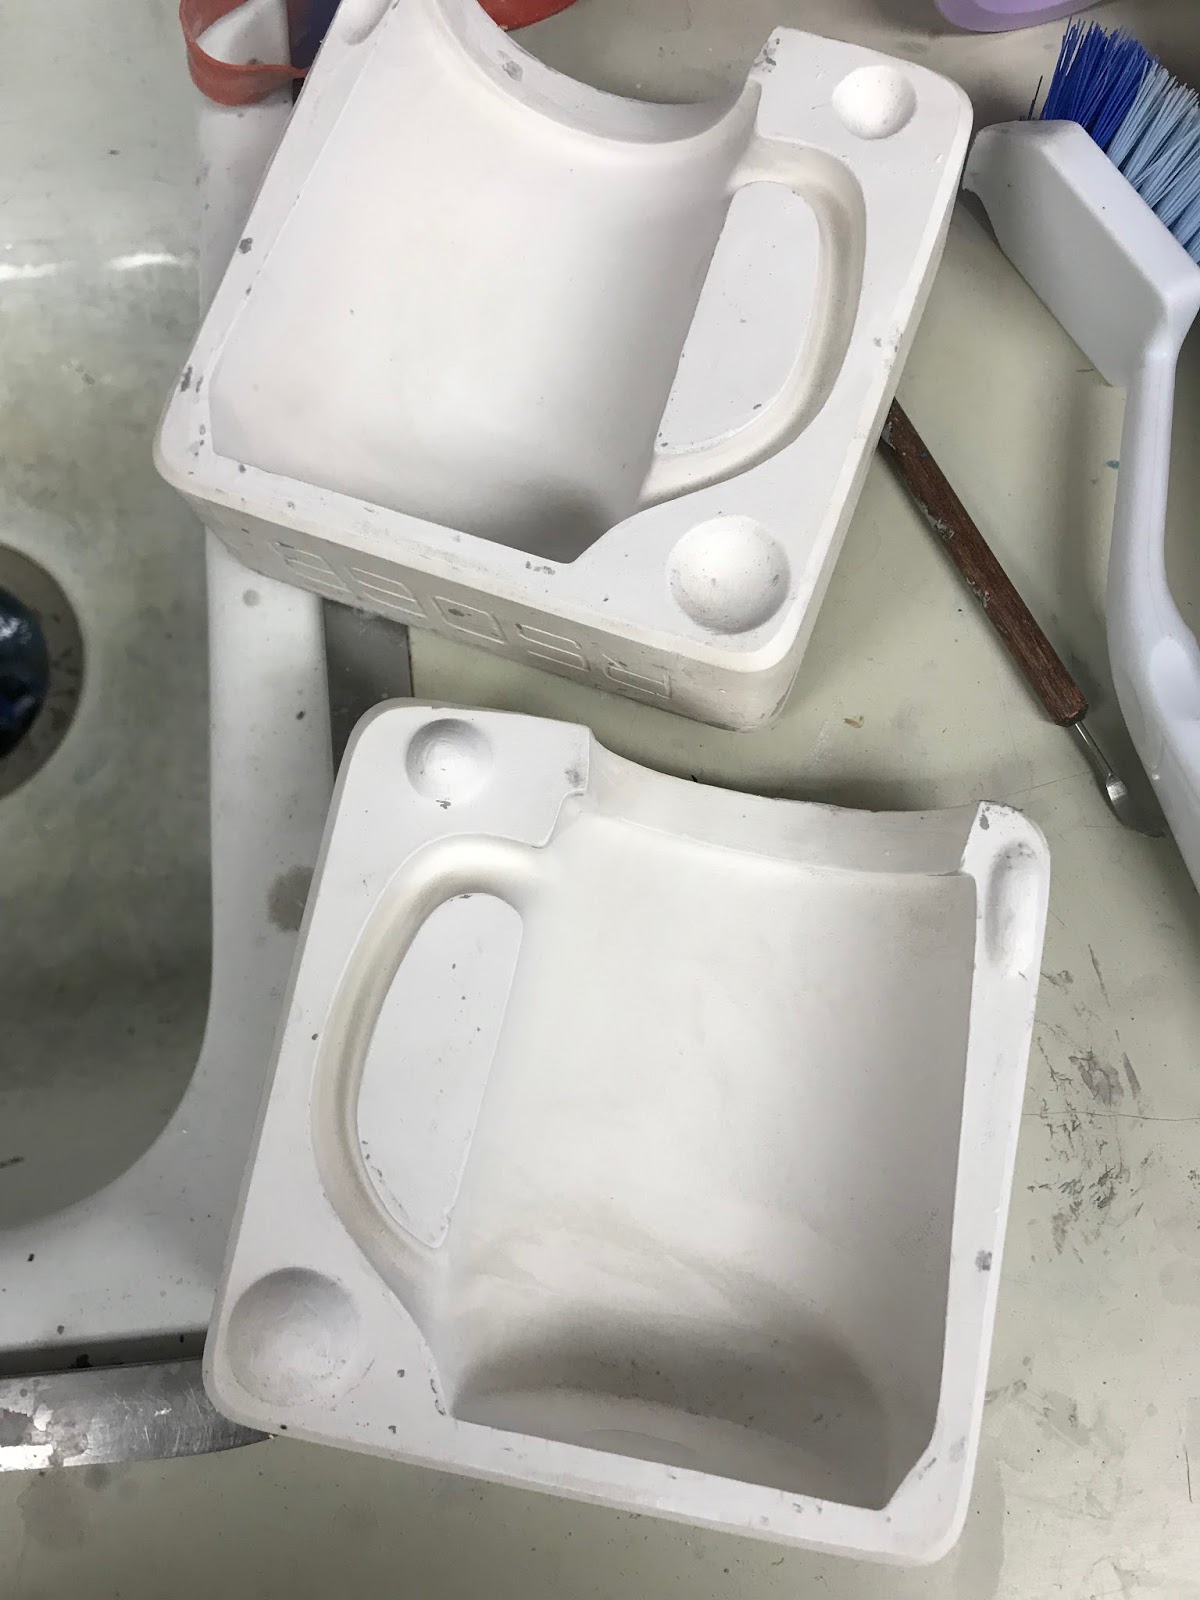 I just use a plastic dish brush - something stiff enough to get the debris, but not stiff enough to damage your mold.
 Wrap securely with large rubber bands. This small mold doesn't need too much support, so I've had good luck with just one.
 If your mold is large then you REALLY need to secure it. You'll thank me later for doing this! You will be pouring a LOT of slip in the mold and the weight of the clay will push the mold apart.
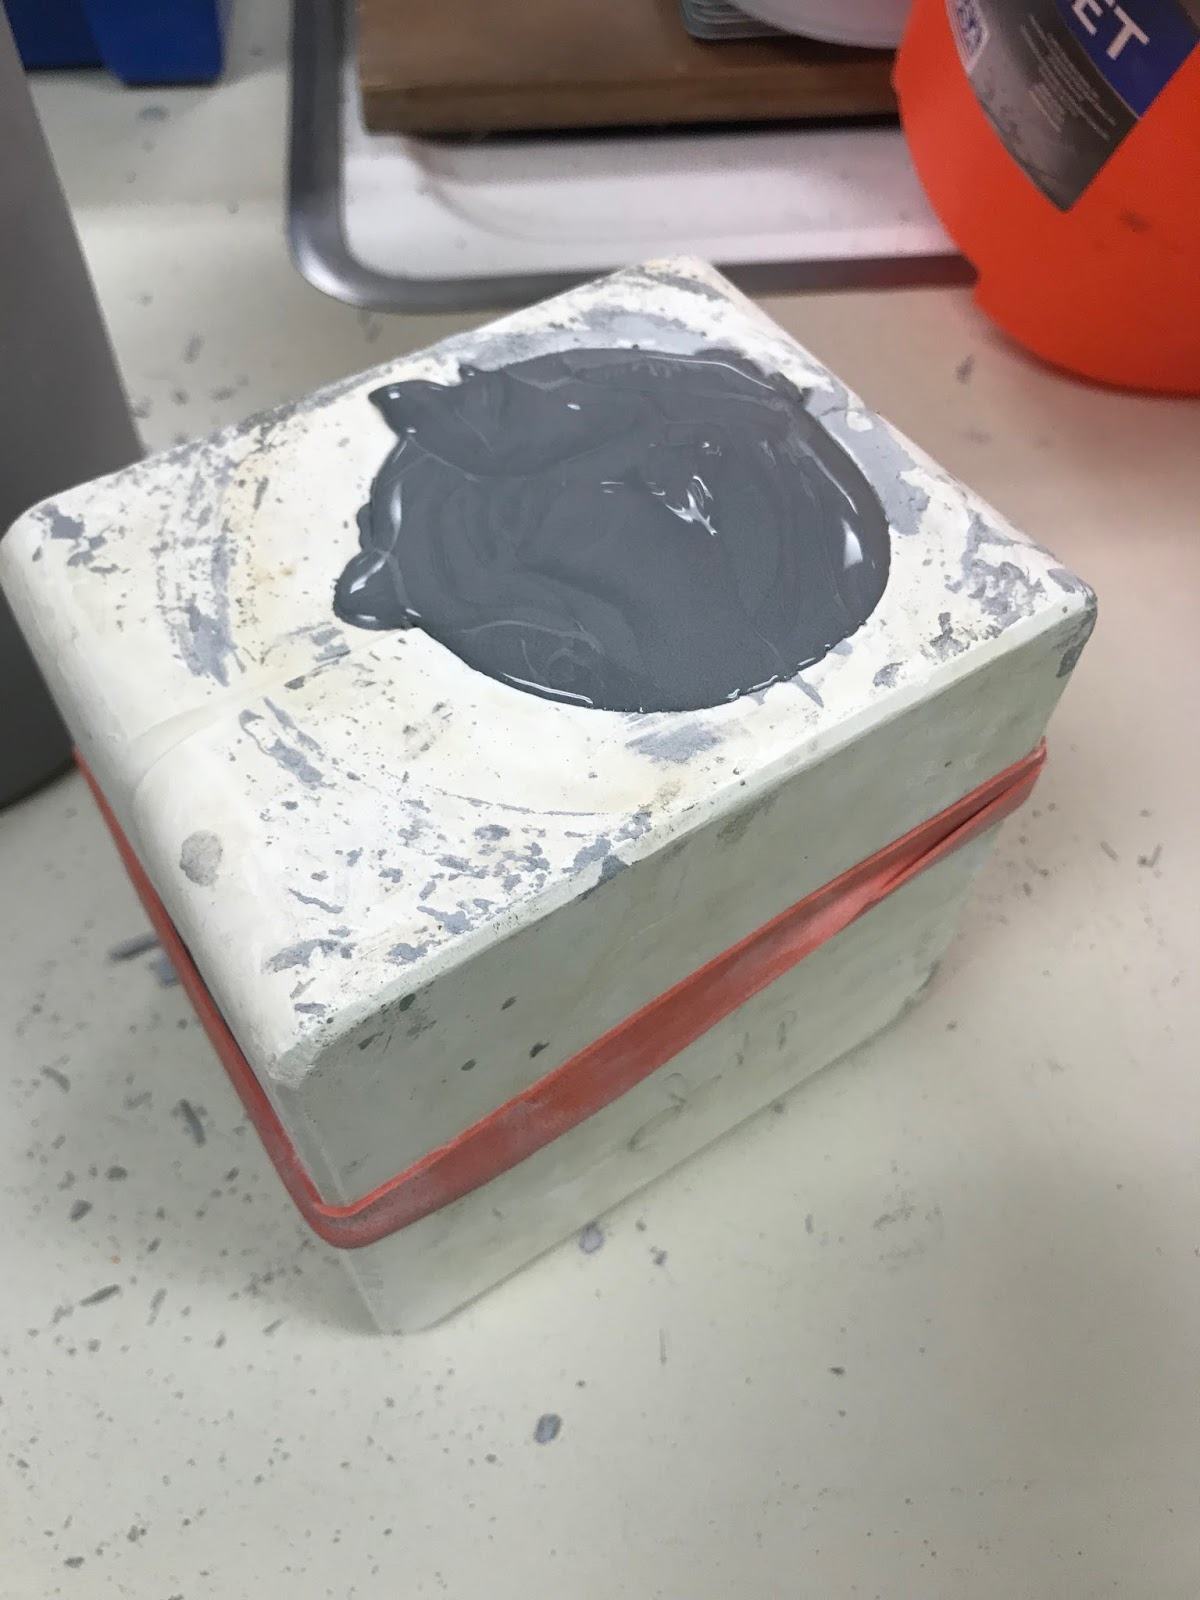
 Check your mold for additional fills. This hole is on the side, so it will need to be poured at a later time. Keep all pieces wet until you can join them together.
 Fill your mold to the top with slip. It's ok if it goes over a bit. Now the hard part - let it sit for awhile! Don't forget to monitor your pour.


 My room is a super odd shape. It's kind of an "L" shape, but it's not square on the far projection wall. Fitting in all these tables has always been a challenge, but somehow I keep figuring out ways to fit one more center in! I love my "I SPY COLOR" wall - I made that to hide that ugly red fire extinguisher. I thought the fire marshal might not like it but he did! It's taking longer than I thought to fill all that space but it's a fun journey!